References
Overview
Virtool is built for detecting viruses and is capable of detecting other pathogens. Managing collections of pathogen sequences used for this purpose is a key feature of Virtool.
At least one non-empty reference must be created to start analyzing samples. One quick way to do this is to install the official plant virus reference.
OTUs
The reference is a fully editable and tracked collection of pathogens, pathogen isolates, and their genome sequences. The data in the virus reference is used to identify potential viral infections in Illumina libraries derived from your samples.
In Virtool, pathogen records are called OTUs (organizational taxonomic unit). This leaves the organization of the reference up to the user. Generally, OTU is synonymous with pathogen species.
See the OTUs documentation for more information.
Indexes
Indexes are versioned snapshots of all the OTUs in a reference at points in time. In the background, indexes are associated with optimized read mapping indices managed by Virtool.
When changes are made to OTUs, the index is rebuilt to include those changes in future analysis jobs. Each analysis is tied to a specific index (version) of its target reference.
See the Indexes documentation for more information.
Rights
Access to references can be controlled by user and group.
Users or groups must be assigned to a reference to gain access to it. The actions a user or group can perform on the reference can be tightly controlled.
Find a reference
-
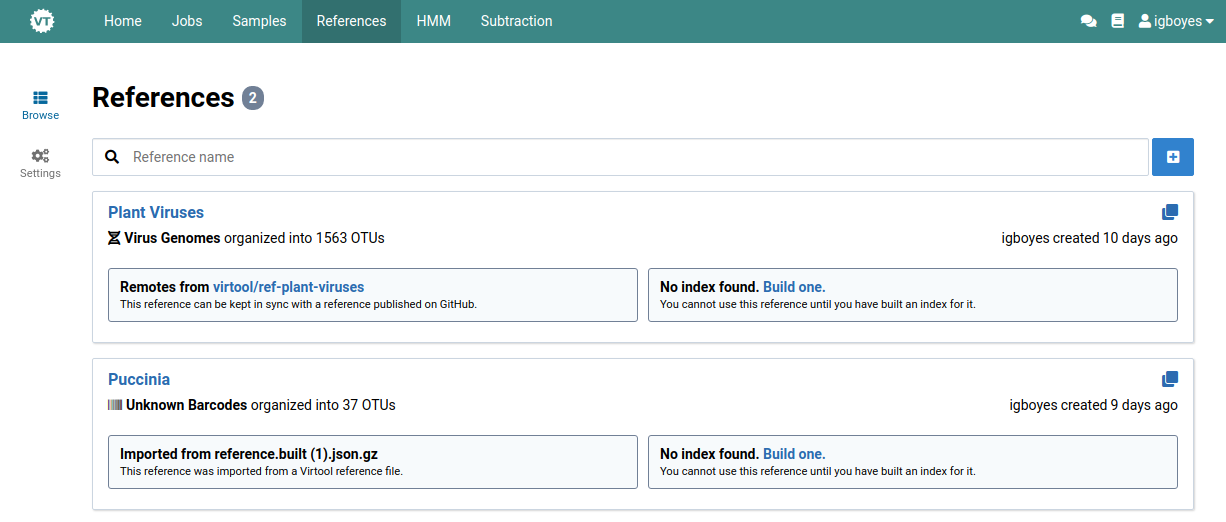
Click References in the main navigation bar.
A list of available references appears.
-
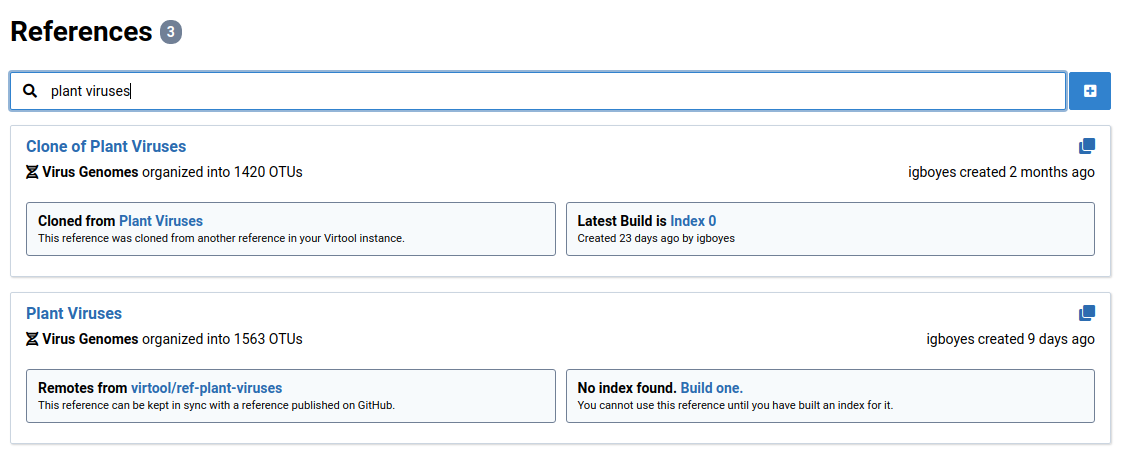
Type a search term in the search bar.
The list is narrowed to references that contain the search term in their names.
-
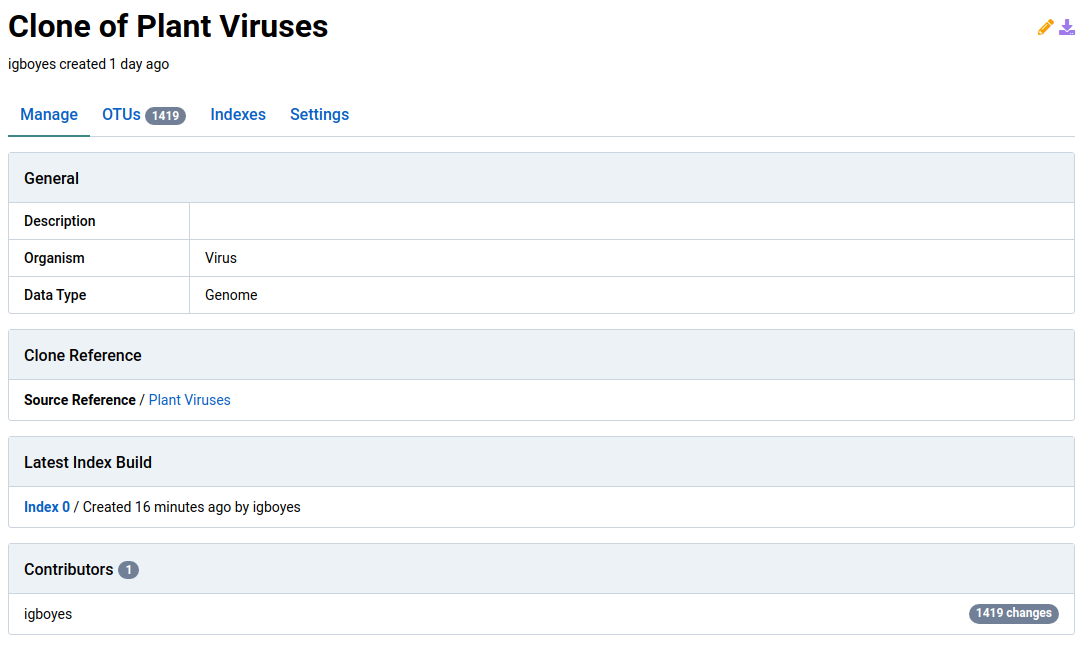
Click a reference to view detailed information about it.
Install the official reference
Instead of starting a virus database from scratch, you can use the official plant virus reference. Doing this sets up a remote connection to the reference on GitHub.
-
Go to the References view
A message with a button for installing the official reference is visible if you haven’t already installed it.

-
Click Install to begin the installation process.
A new card should appear representing the official reference on your system. It displays a progress bar while the reference is being created locally.

Once the installation process is complete, the reference card should look something like this:

-
Click the reference card to view a detail page for the reference.
Create an empty reference
-
Navigate to the References view
-
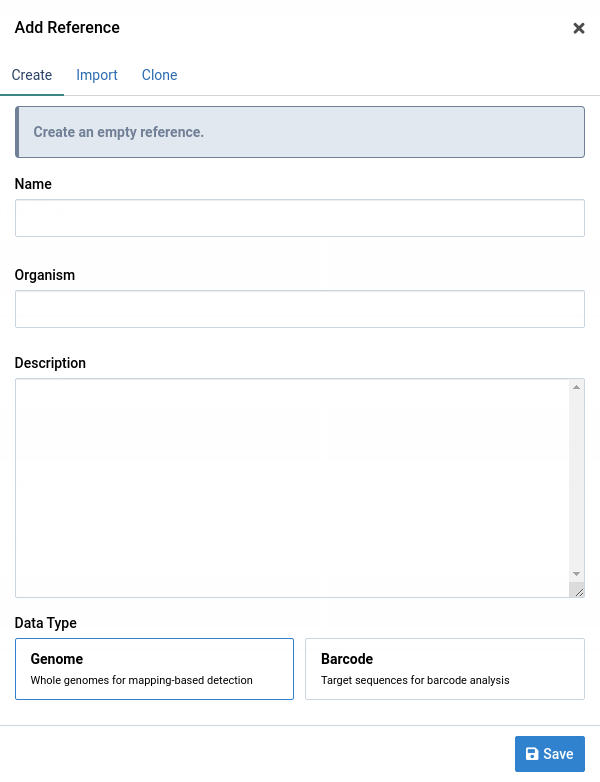
Click to open the reference creation dialog.
-
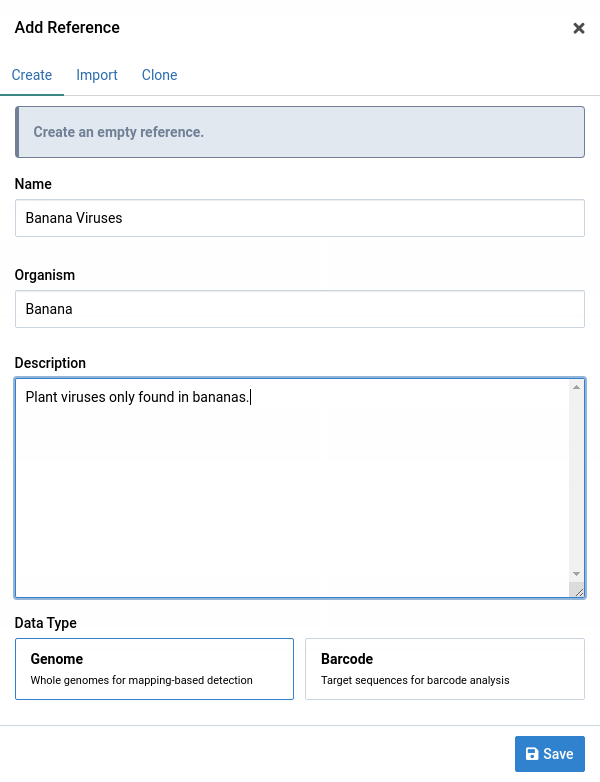
Give your new reference a name, the kind of organism the OTUs are from (for example, viruses), and an optional description.
-
Click Save.
Your new reference now appears in the References Overview page.

Clone a reference
Existing references can be cloned to create a new reference that can be modified without affecting the original.
-
Navigate to the References view
-
Click to open the reference creation dialog.
-
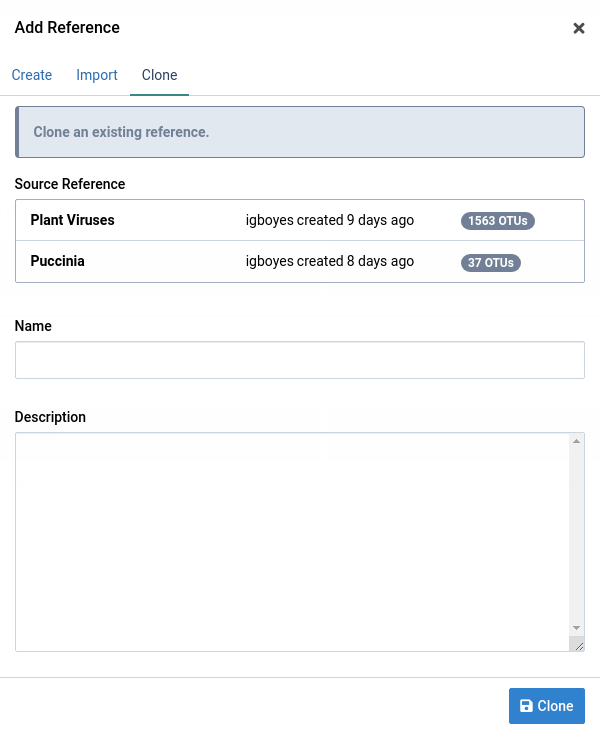
Click the Clone tab
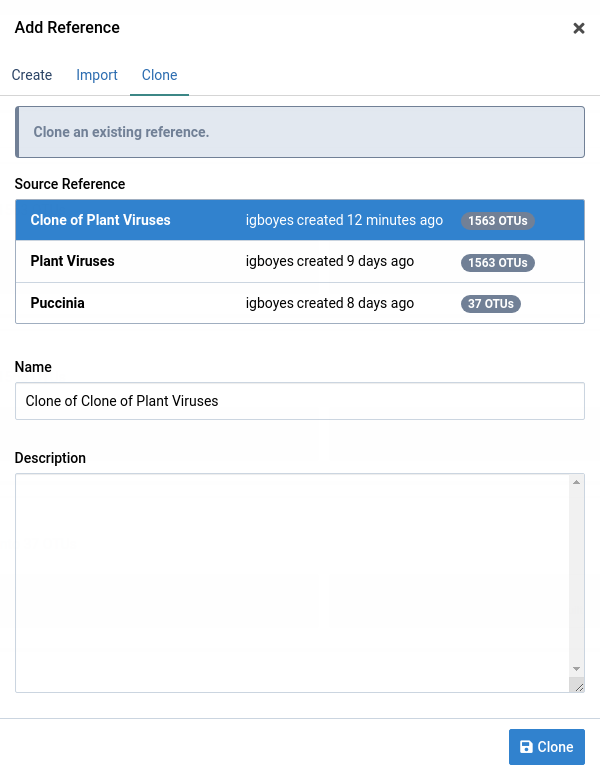
The clone form has a list of existing source references to choose from. The organism and data type are derived from the source reference and can’t be changed.
-
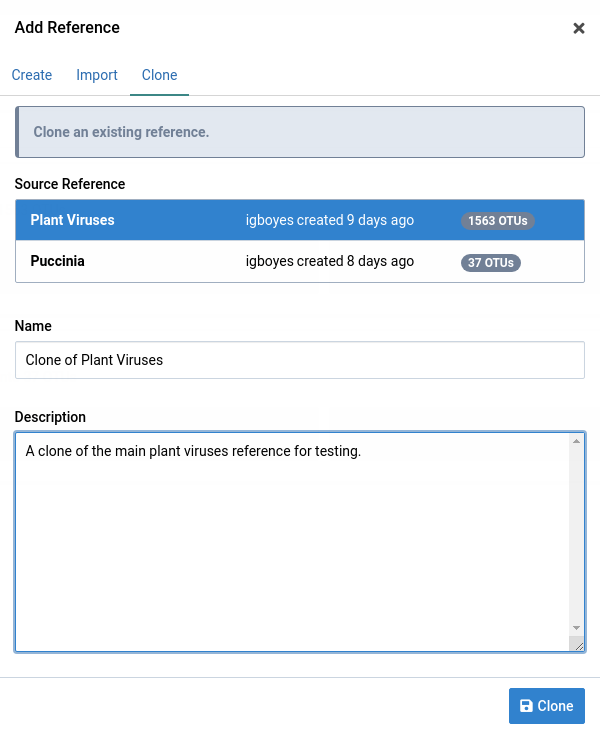
Fill the clone reference form
Selecting a source reference automatically generates a name for the reference, but this can be changed. Filling out the Description field is optional.
-
Click Clone
The reference is created and appears in the list. Cloning the source data takes time. The progress of this process is shown on the reference card.

-
Wait for the clone to finish
The reference card looks like this when the reference is ready:

Quick clone a reference
An alternative way to clone a particular reference is by using the quick clone function.
-
Find the quick clone icon in the top-right of a reference card

-
Click the icon
The Add Reference dialog appears with the clone tab active. The form has the reference you clicked pre-selected and a name is auto-generated.
-
Continue with cloning as normal
Import a reference
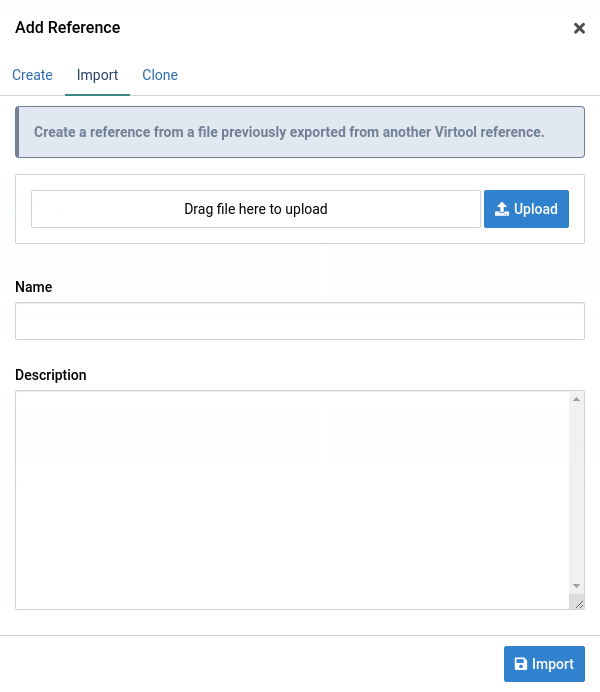
It’s possible to export a reference from one Virtool instance and import it into another. This allows you to share your reference with other people.
-
Navigate to the References view
-
Click
-
Click the Import tab
-
Fill the import form
Upload a
.json.gzfile containing a reference and give it and name and optional description.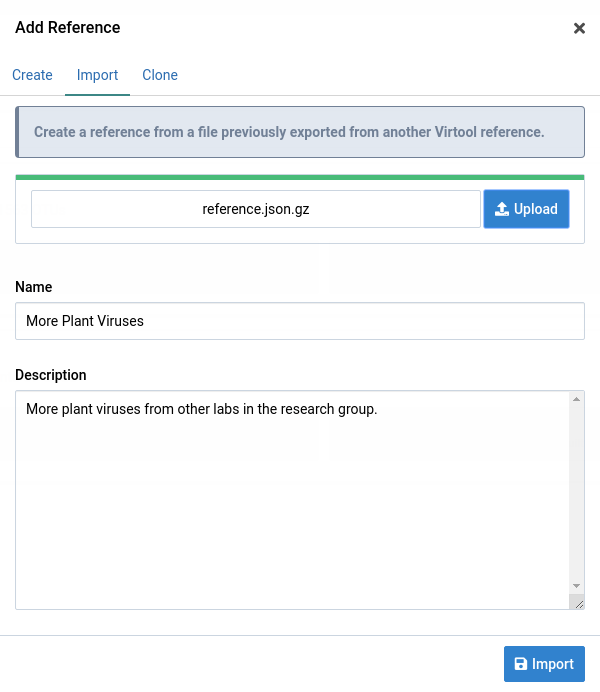
-
Click Import
The reference is created and the import process begins. You can see the progress on the reference card.

-
Wait for the import to finish
The reference card looks like this when it’s complete:

Export a reference
-
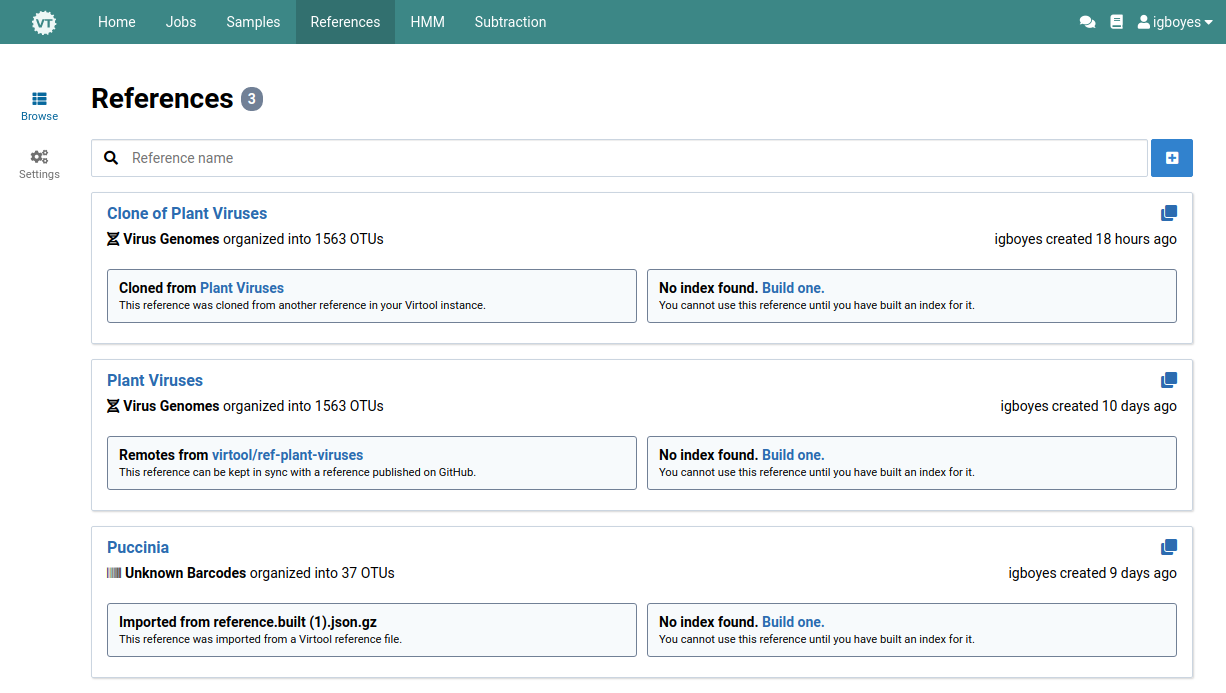
Navigate to the References view
-
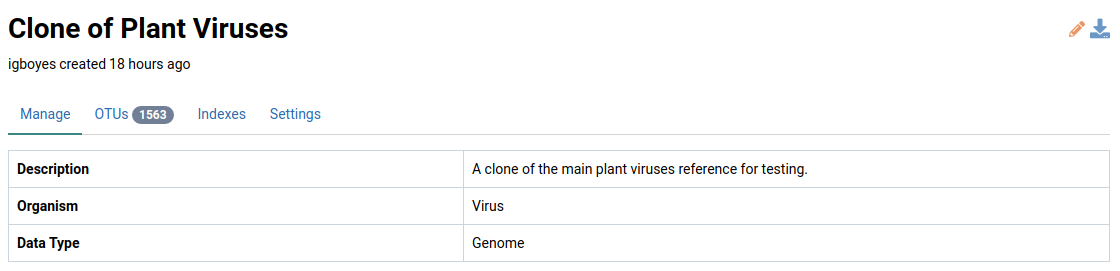
Click the reference you want to export
The detail view for the reference appears.
-
Click the icon at the top-right
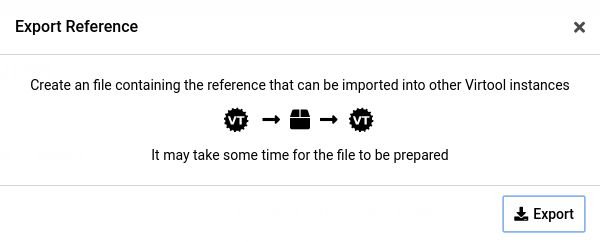
The Export Reference dialog appears.
-
Click Export
A file called
reference.json.gzis downloaded. It may take some time for the download to start as the reference file is prepared.
Edit a reference
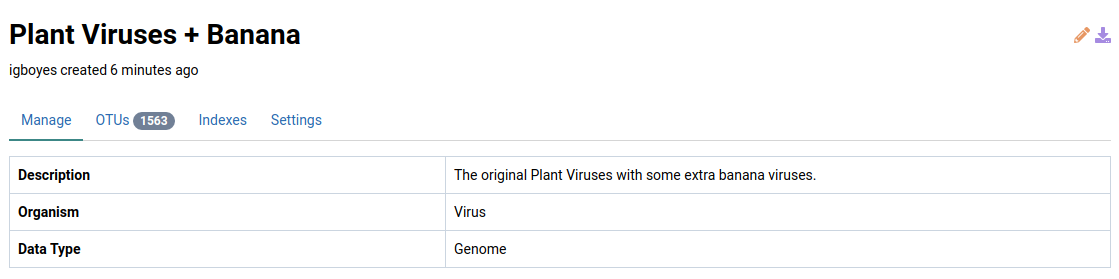
After a reference is created, its name and description can be changed. Its data type and organism can’t be changed.
-
Navigate to the detail view for a reference
-
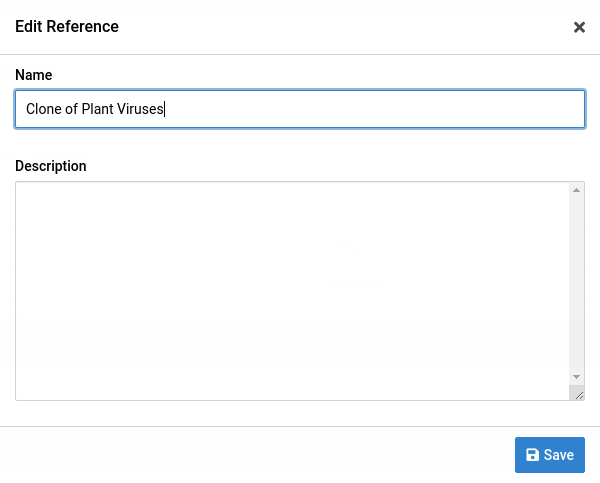
Click the icon in the top-right
The Reference Edit dialog appears. The current information for the reference is in the form fields.
-
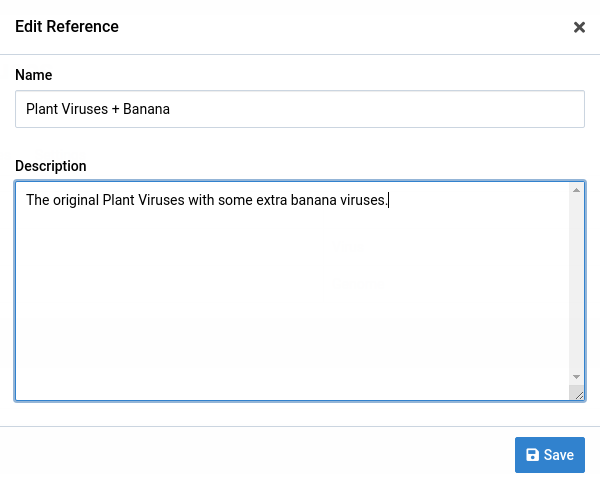
Make your changes to reference
Here, the name changes and a description is added.
-
Click Save
Your changes are applied to the reference.
Delete a reference
-
Navigate to the references view
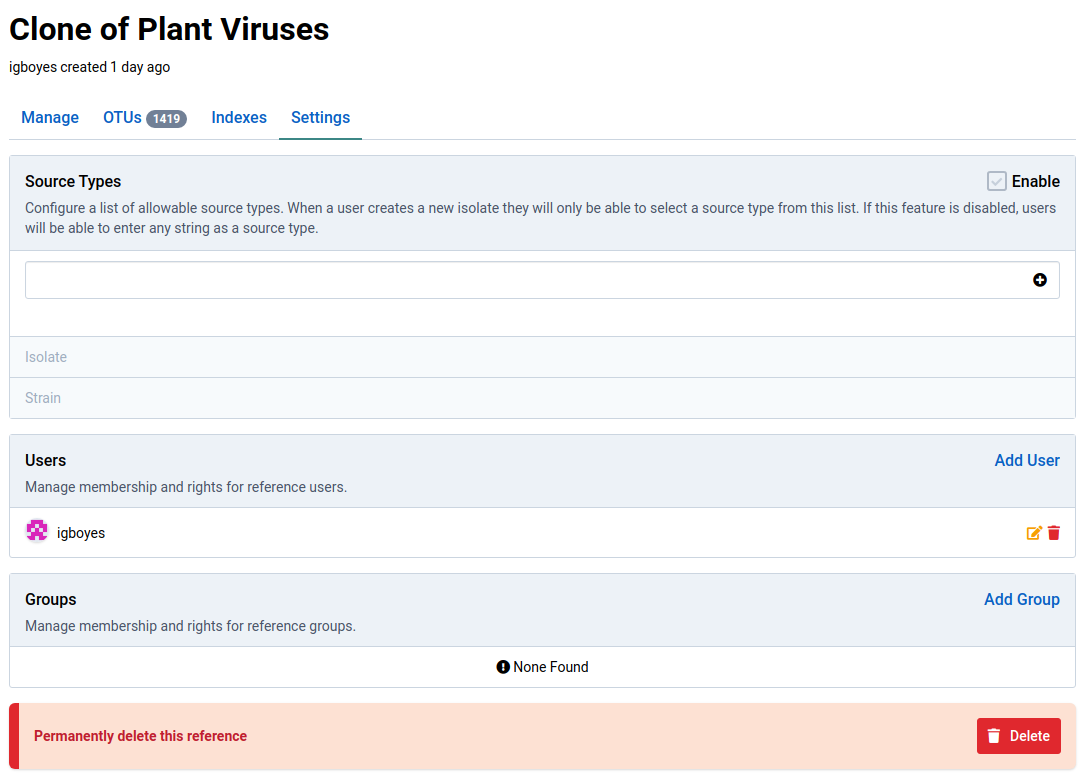
Notice that Clone of Plant Viruses is in the list of references.
-
Click the reference you want to delete
You are taken to the detail view for the reference.
-
Navigate to the Settings tab
-
Click Delete on the bottom
Deleting a reference is permanent. Make sure you want to delete the reference.
You are redirected to the references list when you delete a reference. It should be gone from the references list.
Update the official reference
The official reference is a collection of plant viruses that lets you get started using Virtool right away. It can be automatically updated from the repository on GitHub. When changes are made to the reference on GitHub, the official reference on Virtool also needs to be updated.
-
Go to the detail view for the official reference
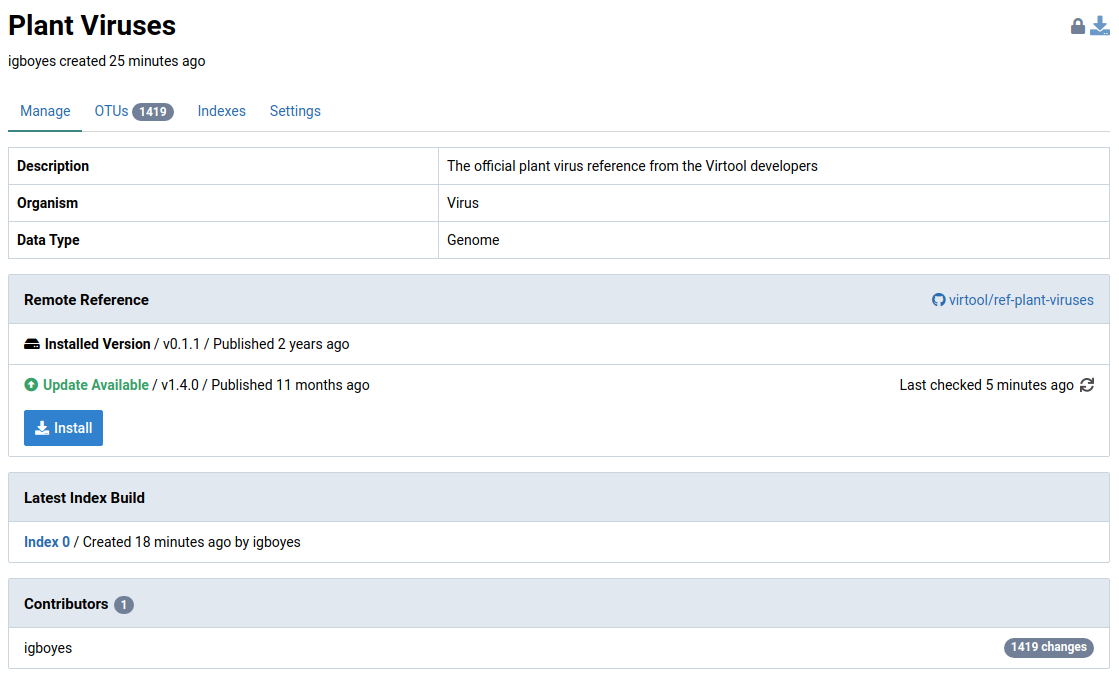
To check for updates, click the official reference. The Remote Reference box indicates whether an update is available.
-
Click Install to install the update
The update process begins. The progress is shown in the Remote Reference box.

-
Wait for the update to complete
Once installation is complete, the Remote Reference box shows an Up-to-date status.

Build an index
After updating the official reference there are unbuilt changes that need to be included in an index before they can be used in analyses. Learn more about building indexes.
Manage source types
Isolate names comprise a source type and source name. Users can be forced to use certain allowed source type values when creating isolates.
Source type restrictions don’t affect OTUs from import, remote, or clone sources.
-
Go to the detail view for the reference of interest
-
Go to the Settings tab
-
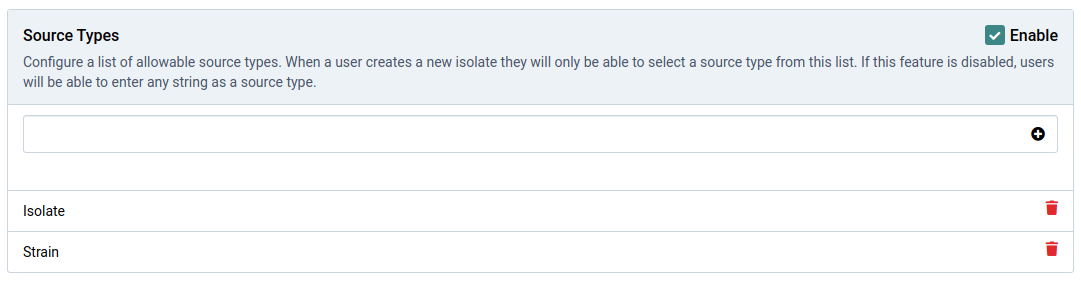
Click the Enable checkbox
This turns on source type restrictions for the reference. Users can use only the source types listed here when creating isolates.
-
Enter a new source type in the input and click the icon
This adds the entered source type to the allowed source types for the reference. It’s available as a choice for users when they add isolates.
-
Click the icon on a source type to remove it
Rights
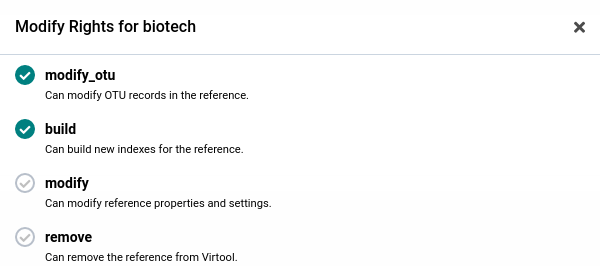
Reference rights control what users can do with a reference.
Access to references can be configured for individual users and user groups. Users and groups added to the reference can read the reference and use it in analyses. Additional protected actions can be enabled for users and groups after they have been added.
Add a user
Adding a user to a reference gives them the right to browse the reference.
-
Go to the settings tabs for a reference
-
Click the Add User link
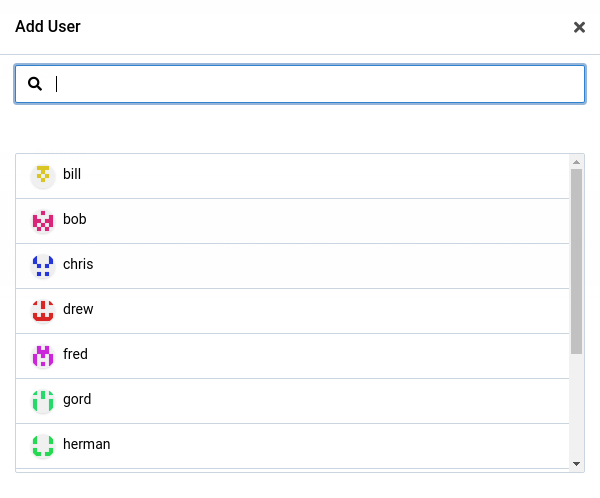
The Add User dialog appears. You can use the search input to filter the users on your Virtool instance.
-
Click a user to add them to the reference
Check that the user is now in the users list.

Add a group
-
Go to the settings tabs for a reference
-
Click the Add Group link
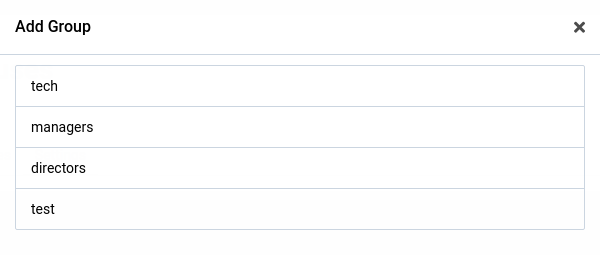
The Add Group dialog appears
-
Click a group to add it to the reference
Check that the group is now in the groups list.

Remove a user or group
-
Click the icon on the user or group you want to remove
Modifying rights
This procedure is the same for users and groups.
-
Go to the settings tabs for a reference
-
Click the icon on the user or group you want to change
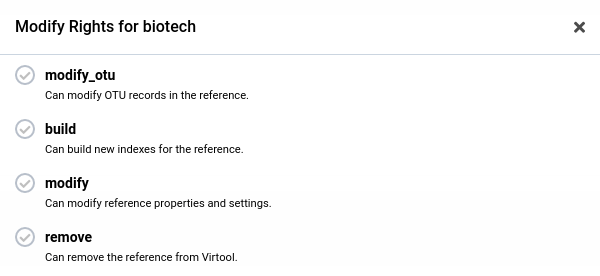
The modification dialog appears.
-
Click the checkbox next to the permissions you would like to assign the user or group